Official Raspberry Pi Zero Case LED Hack
The official Raspberry Pi Zero case is already an excellent enclosure for your Pi Zero / Pi Zero W, especially if you make use of the camera module cover as this provides a self-contained camera setup, ideal for CCTV or home security.
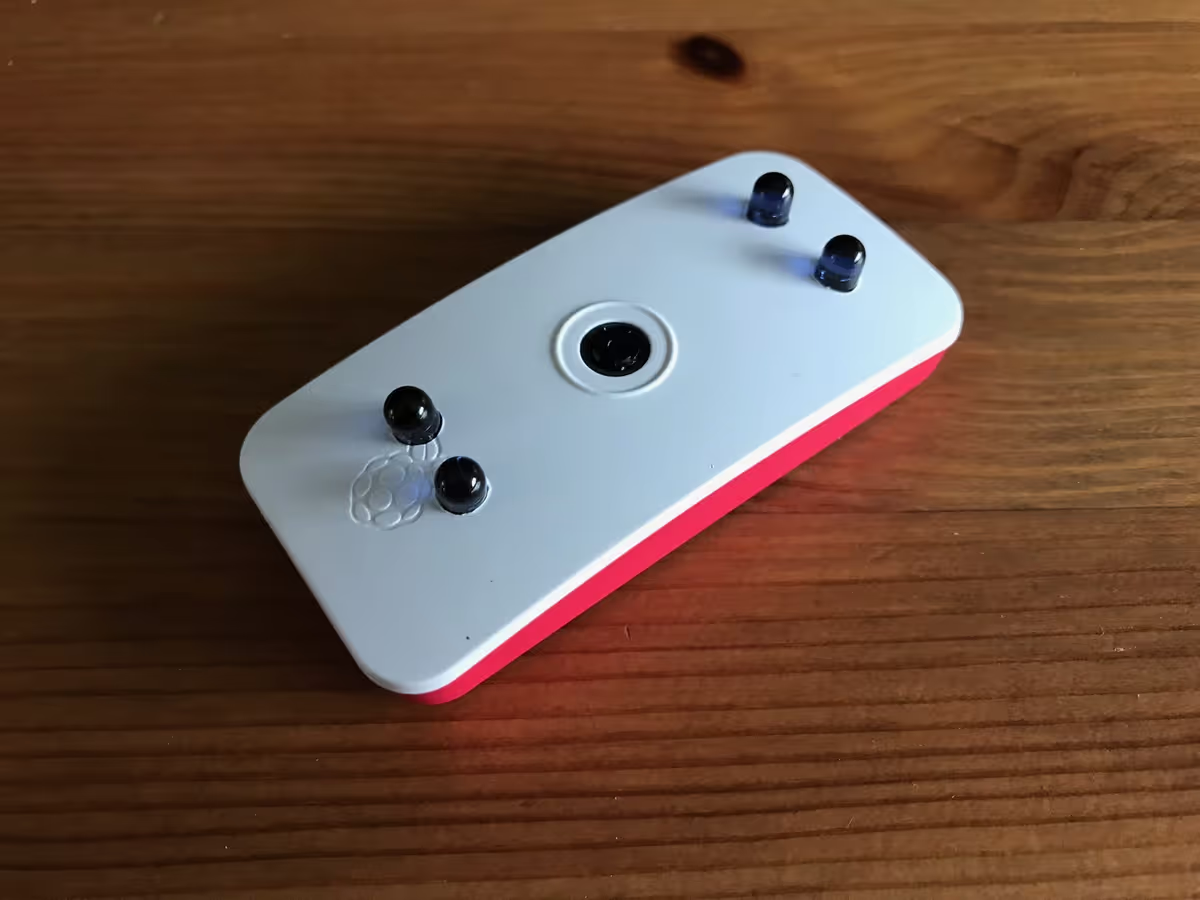
If you have already seen my Raspberry Pi Night Vision Camera Hack, then you’ll already know I have been using a Raspberry Pi and NoIR camera module for home security purposes and have been able to combine IR LEDs to provide an additional light source for use in the dark or at night.
However, since the Pi Zero W and official Raspberry Pi Zero case was released, the small size makes for a perfect camera setup. My wife and I are expecting our first baby in December, and as first time parents we are currently being bombarded with advice and guidance on what to do. One seemingly common purchase seems to be a night vision baby monitor, but I’m surprised by the high cost for these devices and felt like I could build my own version instead.
Add IR LEDs to a Pi Zero W
Being able to improve the night vision of a NoIR Raspberry Pi Camera Module is a frequently asked question online, and the results can vary. Unless you opt for an externally powered infrared light source, then providing additional illumination in the dark is a little tricky, especially if you want to see objects further away. However, as I am planning on using this as a Raspberry Pi powered night vision baby monitor and will have this in close proximity to where our son will sleep, then adding a few infrared LEDs to provide some additional light at night should be a marked improvement.
For this project, I used the following parts:
- Raspberry Pi NoIR Camera Module v2
- Official Raspberry Pi Zero case with the camera cover
- Raspberry Pi Zero W
- 4 x 5mm IR LEDs
- 4 x 220 Ohm resistors
- Prototyping wire
- Soldering iron and solder
- Heatshrink
It also goes without saying that a decent Raspberry Pi power supply should be used, ideally the official PSU that provides at least 2.5A. There is some soldering involved with this project, and it is a little intricate at times due to the small parts being used, but it always helps to use a breadboard and build and test the circuit first:
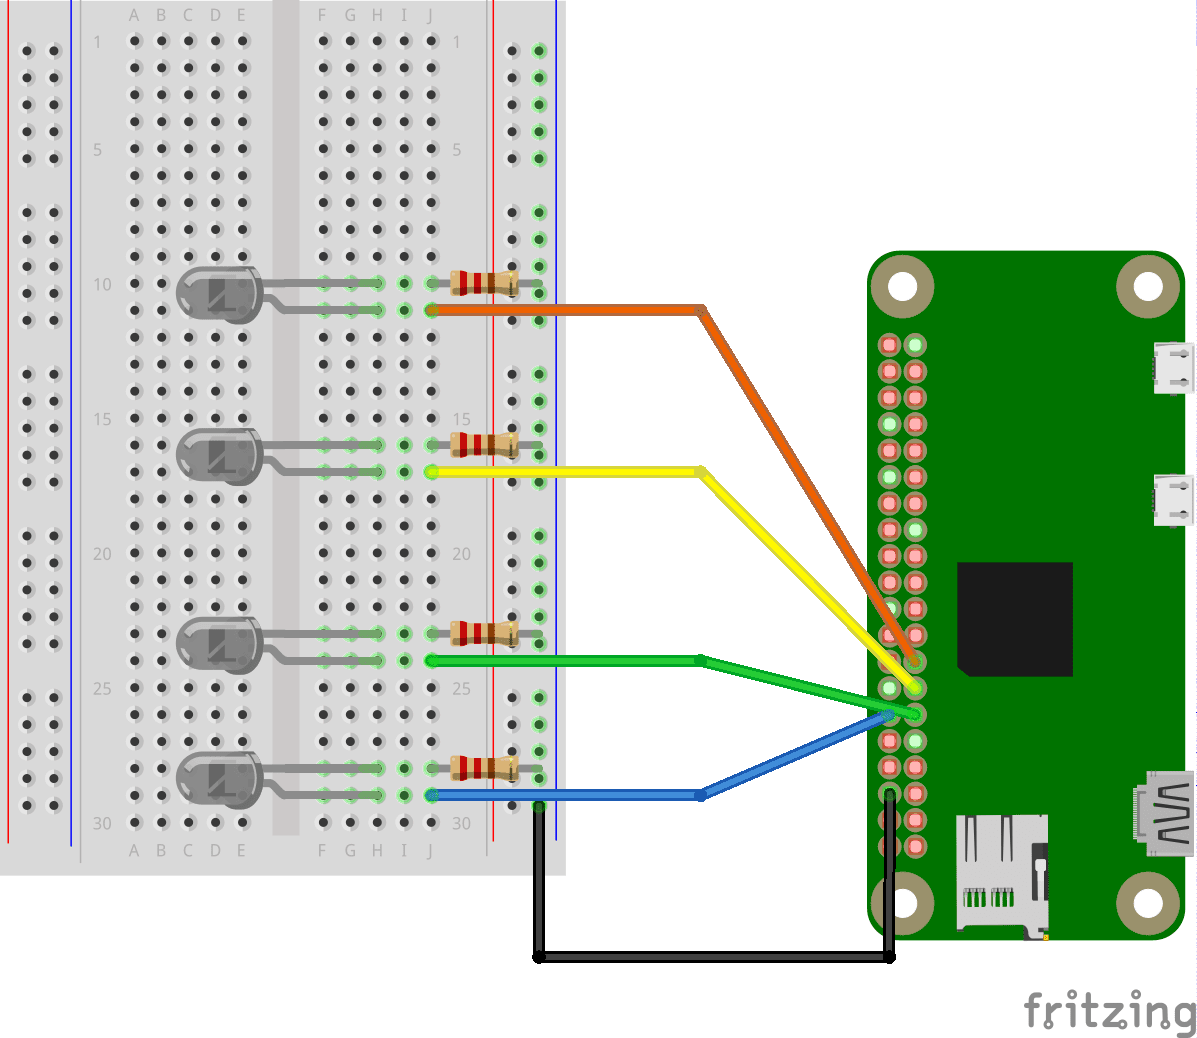
In my circuit, I connected the LEDs to individual GPIO pins on the Pi Zero (BCM 17, 18, 22 and 27) and then the ground to any of the ground pins as it doesn’t matter which one.
Soldering the circuit
Once you are satisfied that the circuit works, you can start soldering it permanently. This is a little daunting for beginners, but practice makes perfect, so maybe start by following some of the various soldering guides on the Raspberry Pi website to hone your skills.
I used a 5mm drill bit and slowly drilled 4 holes in the case lid, making sure they were out of the way of the camera module and the CSI cable connector – this was very simple and only took me a few minutes.
The trickiest bit for me was connecting the resistors to the same ground wire, and ensuring I didn’t use too much wire as space is a premium inside the case itself. I used some heatshrink on the wires and solder joints to ensure they were insulated in case they came into contact with anything on the Pi Zero itself:
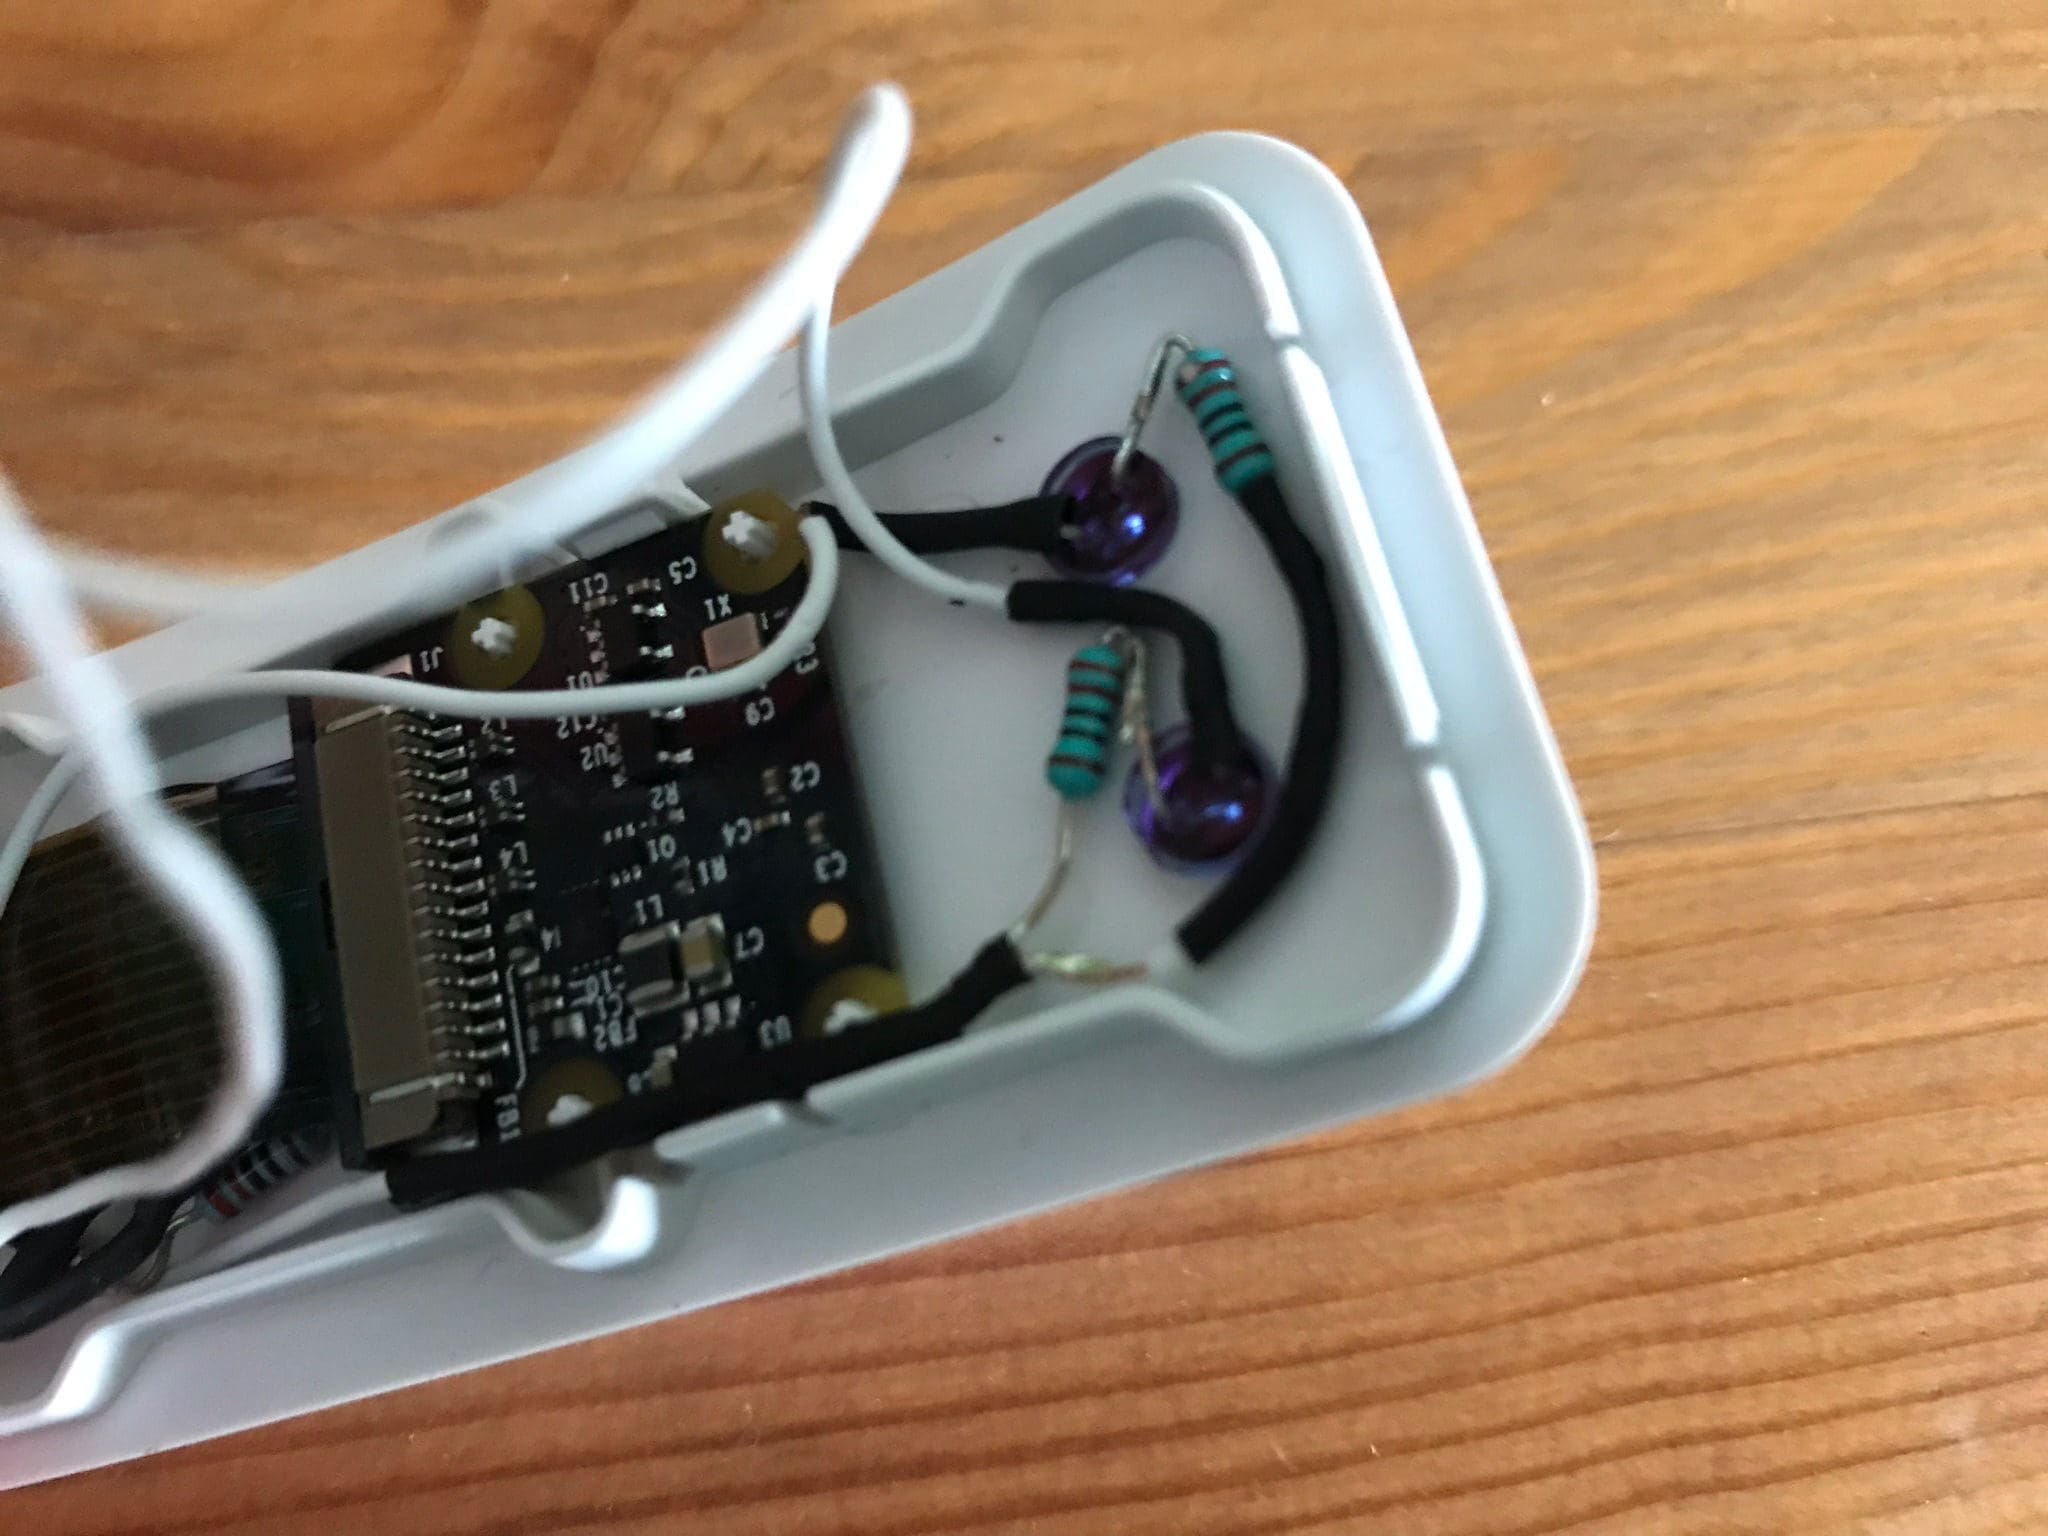
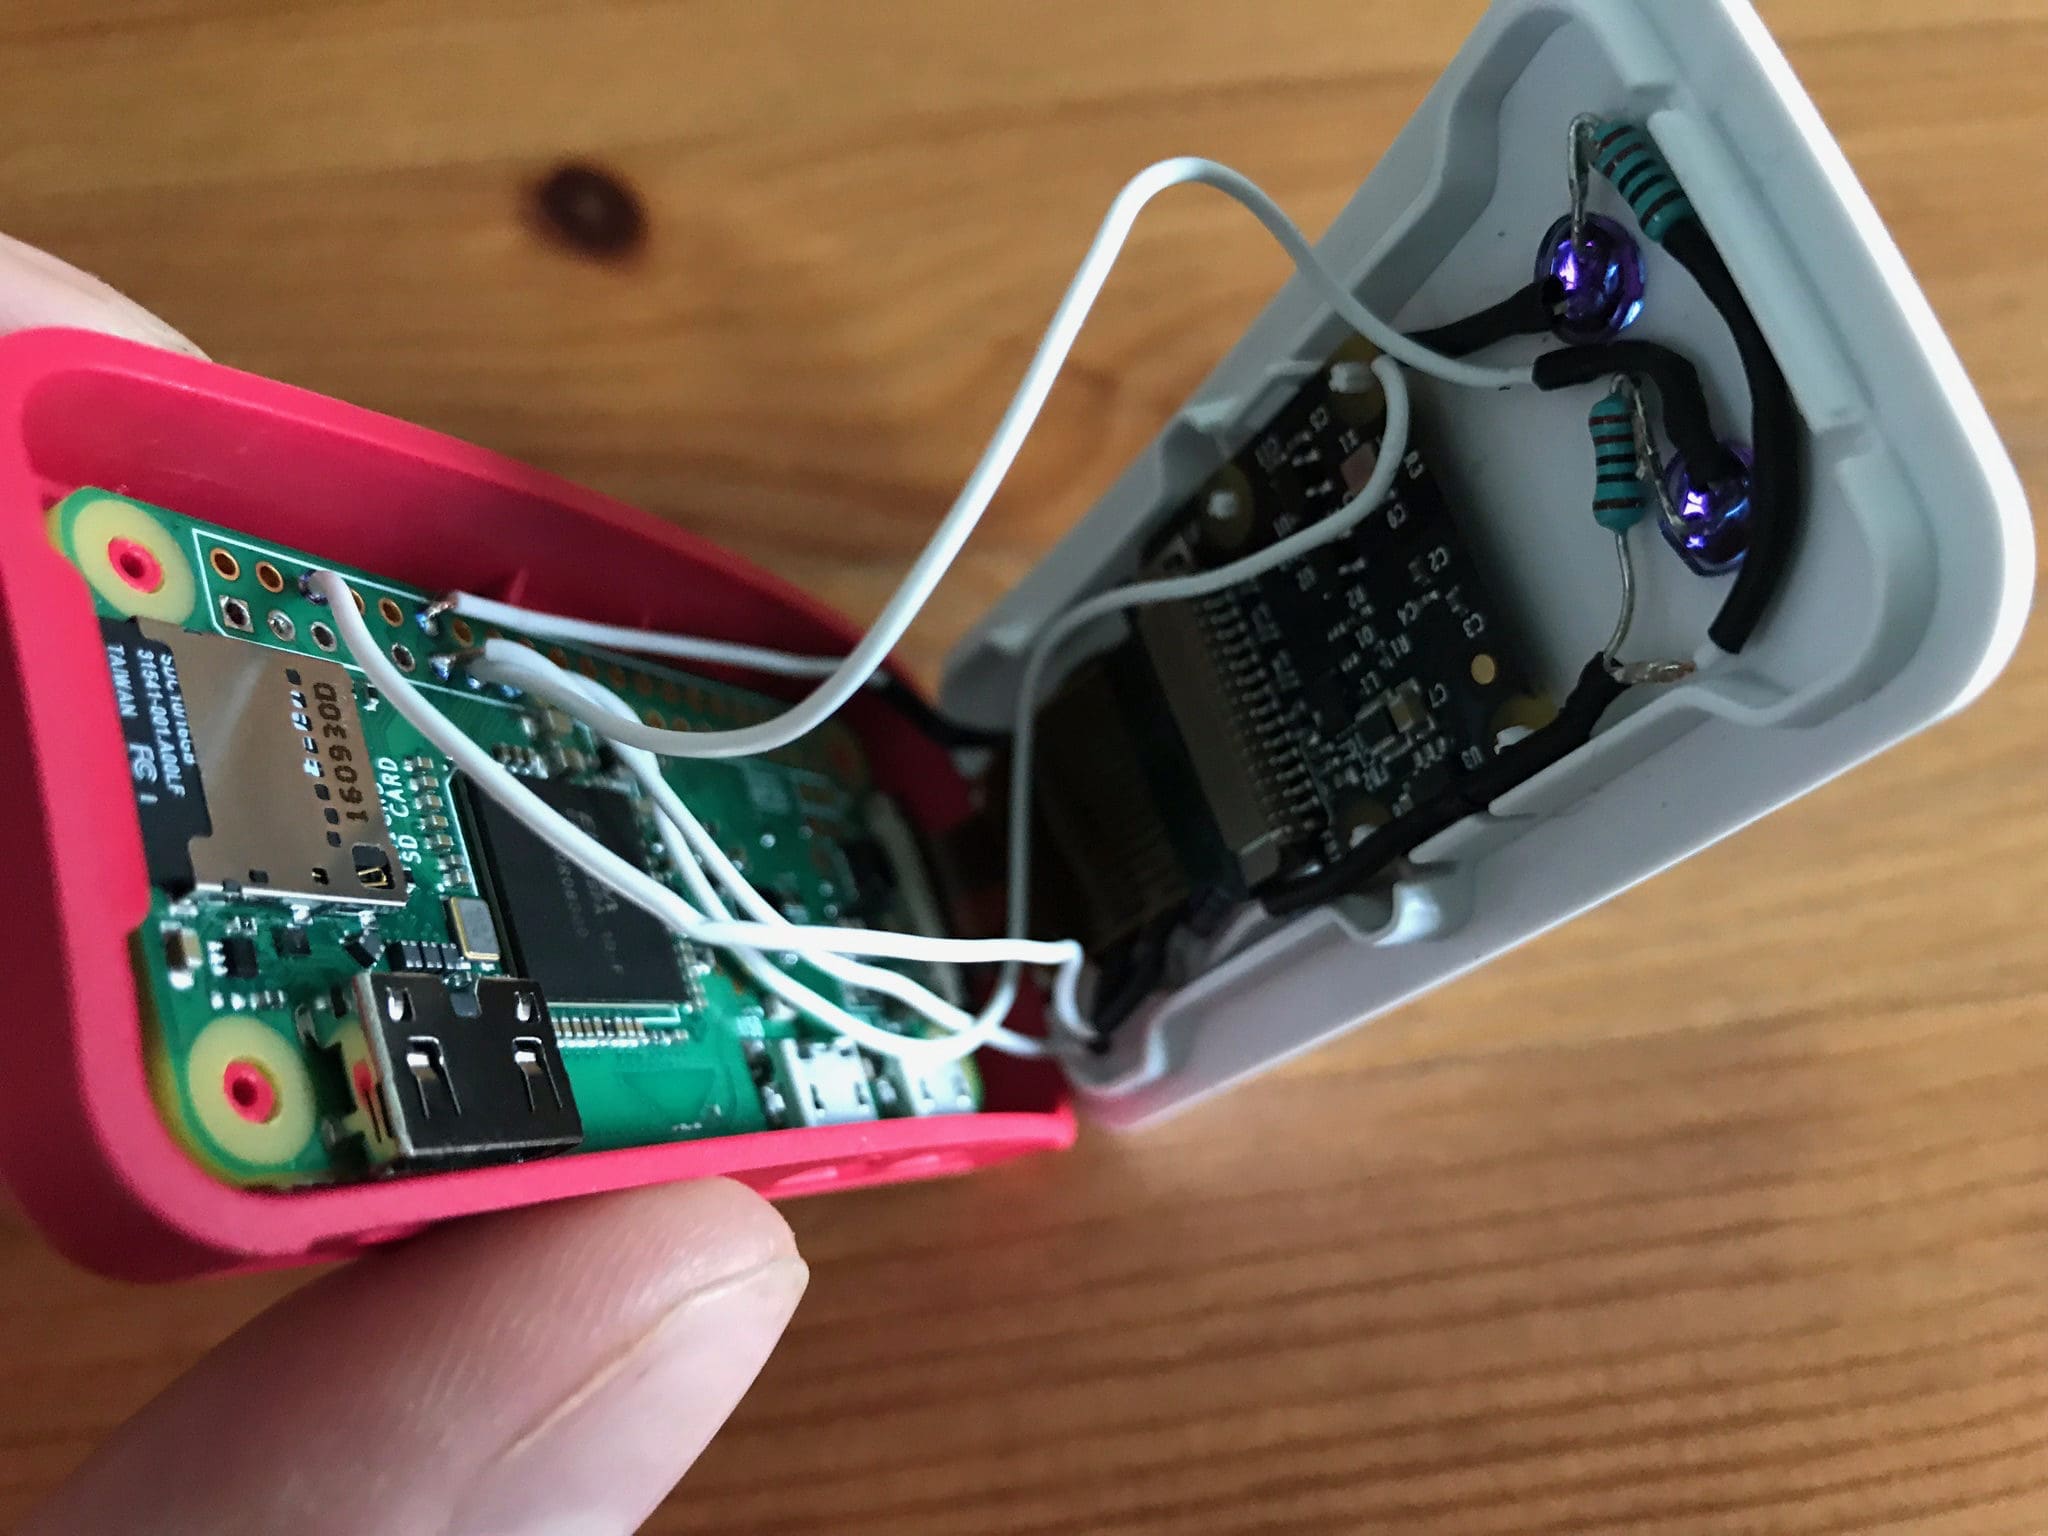
As you can see above, the circuit is quite small and fiddly, but with patience and planning I was able to make it fit nicely:
The code
Now, this is all well and good but to get the IR LEDs working, we need to use a basic Python script. I recommend creating this yourself using your favourite text editor directly on your Pi:
#!/usr/bin/python

import RPi.GPIO as GPIO
import time

# Set up the GPIO -
# mode, and pins

GPIO.setwarnings(False)
GPIO.setmode(GPIO.BCM)
GPIO.setup(4, GPIO.OUT)
GPIO.setup(17, GPIO.OUT)
GPIO.setup(18, GPIO.OUT)
GPIO.setup(27, GPIO.OUT)
GPIO.setup(22, GPIO.OUT)

# Assign a state to the GPIO
# True means the LEDs will be
# on until the script terminates.

state = True

try:
    while True:
      GPIO.output(4,True)
      GPIO.output(17,True)
      GPIO.output(18,True)
      GPIO.output(27,True)
      GPIO.output(22,True)

# Allows you to manually terminate the
# script by pressing 'Ctrl+C'.

except KeyboardInterrupt:
  print('\nStopped')

# Clean up the GPIO - will set back
# to default - i.e. off.

finally:
  GPIO.cleanup()
IR LEDs in MotionEye OS
MotionEye OS is fantastic, and I use it on a few Pi’s at home for CCTV purposes. You can use MotionEye OS to trigger scripts you’ve created by placing them in the/data/etc folder and making sure they are executable. More information on how to do this can be found on my guide on Adding Push Notifications to MotionEye OS, so I won’t go into detail here.
However, I’m going to be using cron to turn run the Python script that controls the IR LEDs so that they turn on when it is darker. Again, this is covered in detail over on the MotionEye OS wiki, so I won’t go into too much detail here.
Example images
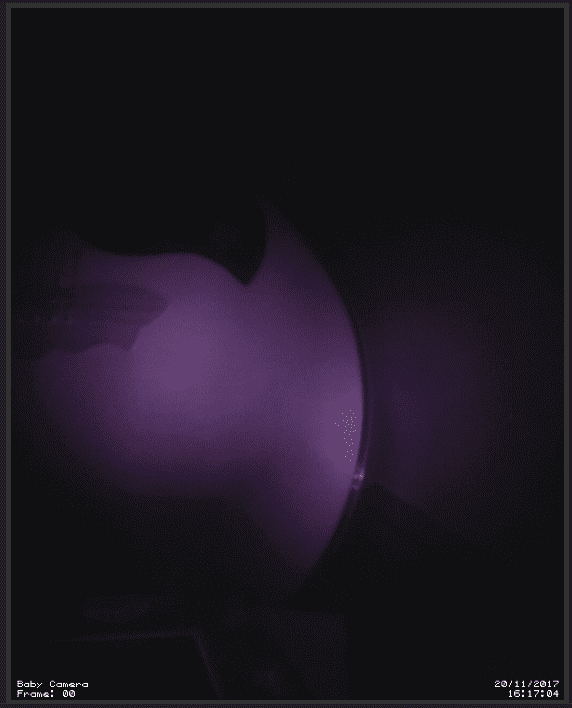
Below are some example images, showing what the view is like before and after adding the IR LEDs. As you can see, it is hardly going to light up an entire room, but if you are focussing on something relatively close-by (such as a sleeping baby), then this should work just fine.
Raspberry Pi NoIR Camera before IR LEDs are on:

Raspberry Pi NoIR Camera with the IR LEDs turned on:
So there we have it – a relatively simple DIY project to add some night time illumination to Raspberry Pi NoIR Camera Module within the official Raspberry Pi Zero case.


